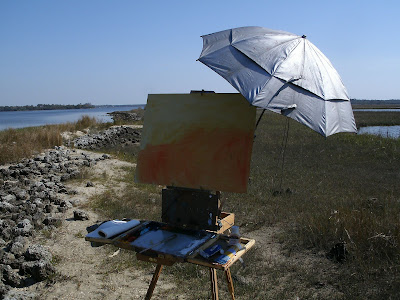
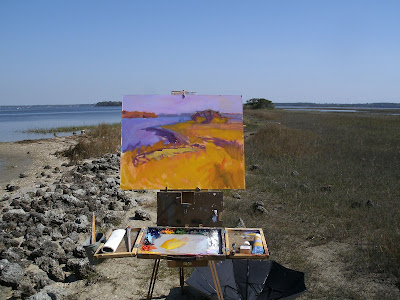
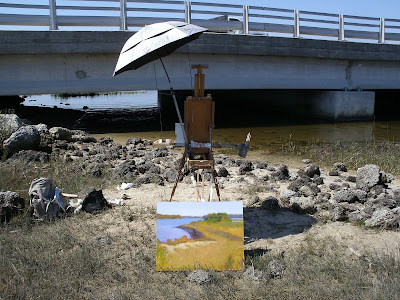
 Day two of the 22x28 marsh piece. yesterday i did an 8x10 to get the image/value and color scheme firmly inplanted in my mind. looking at it i liked the composition and feel of it so i returned at the same time of day and the exact location. i found the holes in the sand the easel made yesterday and set up on them. funny how being just a few feet this way or that will change the shapes.
above shows the acrylic paint i smear all over the gessoed panel using a wet paper towel i wet in the sound water. keeping it lighter in the sky area and a little darker and cooler (compared to yellow)in the land mass area. this dries really quick and i can draw the shapes on with Liquin and alizarin crimson and a little blue. i look at the scene to see if i want to change anything from the 8x10 that i have on the ground (from yesterday) so i can see it easily.
 here's what it looks like with some oil on the shapes. lots of Liquin, a little thinner and very loose brushstrokes with my fave 1" American Painter brush from Michael's. this is one of the best large brushes i've ever used. i use only their filberts, the flats, i hate. just my preference but if you ever want a good large brush try it out. the Liquin and paint soak in and dry really quick. up to now i might have half an hour or 45 minutes in it so far.
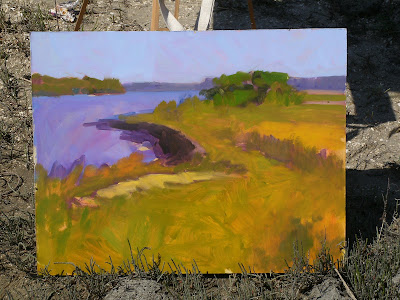
 here i start making the shapes more realistic color-wise, at this point making sure the values and temperatures are being honed in on. whenever you first lay down a color you may think the value and color are dead on. it may well be, on the palette. when you put it up on the canvas it has to look that color with the colors already there, around it. it may not look the same. so then you fix the colors around it to make it look like the color you want. its been said painting is just a series of successful corrections. very well said.
the lights changing after several hours, and at this point i'm a little past the block-in stage. i'll come back tomorrow to finish it. the paint will be pretty much dry to the touch so i'll go back into each shape and make small value and temperature shifts in each shape without messing up the values/temperatures of the big shapes. think of it this way. you worked hard all the way up to this point, why would you want to change that. all we want to do is add complexity, and firm up details, and do the final check that all values/temperatures/shapes are correct. that will come in tomorrows painting session here. same time. same place, same Bat station.


5 comments:
This is great Mike. Thanks for the tutorial, it really helps. I think you made a wise decision to stop churning out paintings and upgade the ones you do, they have all been lovely. I especially like the house today, it has a nice sunny glow about it. I am anxious to see the finish of the marsh painting tomorrow.
thanks carol- i'm considering getting out of Daily Painters Gallery to free up time (doing those cheap online pcs) for better, higher quality big ones in the high end galleries that represent me. i know they'll be glad i did it. now to see if i go broke or not LOL
Hey Mike thanks for the almost daily "how I do it" words.A wee lesson every morning which helps put some direction and sense into the exciting magic of paint and brush.
I had to add my comment to encourage you to keep doing it.Its helping me a lot -step by step day by day.
Somewhere on the blog you mentioned Colley Whisson-I bought one of his books on E Bay,great stuff. I'm sure you also know about this other Oz bloke who does magic with a brush- Herman Pekel.
Thanks and hope you pass by again soon
Mick
Thanks for sharing the process - always learn a lot from you! Love all your paintings! The house has lovely colors and a great composition. You really capture the light in whatever you are working on. You are an inspiration!
mick- thanks man! glad youre enjoying the step-by-step lessons. and yes i love colley whissons stuff! i'll check out that other aussie. thanks. getting ready to head out there your way in a few weeks. probably ocracoke with stops due north like salvo and nags head. see you soon.
linda- thanks so much for the nice words. glad you too are enjoying the tutorials. i love to paint the light on a scene or object. glad that shows
Post a Comment