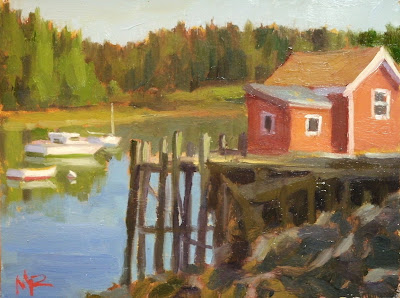
worked on a 16x20 today from yesterdays 5x7 so i thought i'd shoot some more shots as i work. i know i always love to see these step by step demo's on other painters blogs, so here we go

i put yellow ochre acrylic on the gessoed panel very thinly. then draw the shapes on with red/orange and liquin.
 next i use a crappy/cheap bristle brush to scrub on the shadow shapes in cool colors, very loosely and trying to go over the line (both ways) for that blurry edge look i'm after on this big one.
 here it is with all the shapes kinda close to the original study. i'll go back in and color correct each shape now that the whole canvas is covered and you can judge color better. remember that it doesnt matter a flip what the color looks like down on the mixing palette. the only thing that matters is how it looks up on the painting. so add whatever you need to get it 'more correct' by adding color into the shape. that is if its wet. if it has dried then you mix the 'more correct' color on the palette and paint it thicker, on top of the shape.
Remember-painting is a process of making each shape 'more right' in linear and logical steps.
on this large one i'm shooting for better edge treatment than i usually get when i work larger. dont seem to have that problem on smaller ones but when i do larger ones i make the edges too straight, too hard edged, and i lose that 'loose but accurate' look you hear me talk so much about. its that elusive quality, better yet, holy grail i search for on this painting journey of mine.


